Add Row
Add Element
HOME SERVICE HUB
Add Element
  • Home
  • Categories
    • Smart Home Solutions
    • Gardening
    • Landscaping
    • Home Exterior
    • Outdoor Living
    • Smart Homes
    • Lawncare
    • Lighting Solutions
    • Plumbing Tips
  • Featured Business Profiles
July 24.2025
3 Minutes Read

Maximizing Strawberry Growth: When and How to Fertilize for Best Yields

Modern 'SG' logo design on dark background.

Understanding Your Strawberry Plants: The First Step to Healthy Growth

Before you dive into fertilizing your strawberries, it's essential to identify the type of strawberries you are growing. There are primarily three types: June-bearing, day-neutral, and everbearing strawberries. June-bearing types yield fruit in early summer, making them short-lived with a burst of production, while day-neutral varieties provide a steady crop throughout the growing season, weather permitting. Everbearing strawberries offer two harvests: one in late spring and another in late summer. Knowing your variety will help you determine the best fertilization schedule and strategy.

Why Fertilizing Strawberries is Crucial for Yield

Strawberries are known for producing abundant fruit quickly. Unlike other fruits such as raspberries that take several years to bear fruit, strawberries can reward efforts in just one season. Proper fertilization not only enhances the size and sweetness of the strawberries but also strengthens plants against environmental stressors like drought or pests. Just the right amount of fertilizer can significantly impact your overall yield, supporting a robust and fruitful garden.

The Foundation: Healthy Soil is Key

Strawberry plants thrive in nutrient-rich soil that is well-draining. Their shallow root systems rely on the upper layers of soil for nutrients, so it's vital to start with a solid foundation. Incorporating organic compost or composted manure into the top few inches of soil before planting can dramatically improve soil quality. This not only boosts nutrient availability but also fosters a healthy microbiome that supports plant growth. Additionally, practicing crop rotation is crucial to prevent disease. Avoid planting strawberries in soil where nightshade family plants, such as tomatoes and peppers, have been grown recently.

Choosing the Right Fertilizer: What You Need to Know

When it comes to fertilizing strawberries, the choice of fertilizer is just as important as the timing. A balanced fertilizer (like a 10-10-10, containing equal parts nitrogen, phosphorus, and potassium) is often recommended. However, considering an organic berry fertilizer can offer additional benefits. These fertilizers enrich the soil and can enhance overall plant health. Don't forget about micronutrients! Strawberries thrive with the right amount of calcium, magnesium, and boron, so ensure your fertilizer meets these specific needs based on soil tests.

Timing Your Fertilization: Optimal Growth Stages

Correct timing can significantly affect your strawberry plants' productivity. For June-bearing varieties, early spring fertilization before the bloom stage is vital, as this is when the plants need the most nutrients for fruit development. For everbearing and day-neutral types, a split fertilizer application during early spring and again after the first harvest is ideal. This strategy allows those plants to recuperate and prepare for another round of fruiting later in the season.

Common Misconceptions: More is Not Always Better

A common misconception among novice gardeners is that more fertilizer equals better yields. Over-fertilizing can lead to poor fruit quality and increased susceptibility to diseases and pests. The root system of strawberries is delicate; too much nitrogen may promote excessive leafy growth at the expense of fruit development. Learning to apply the right amounts through proper soil testing and following guidelines can lead to healthier plants and tastier berries.

Conclusion: Your Path to Juicy, Delicious Strawberries

Your journey towards growing luscious strawberries starts with understanding the type of plants you have, providing healthy soil, and applying the correct fertilizer at the right time. By taking these steps, you can maximize your garden's yield while enjoying the process. Incorporate these practices to experience the sweet rewards of your gardening efforts!

Landscaping

2 Views

0 Comments

Write A Comment

*
*
Related Posts All Posts
07.21.2025

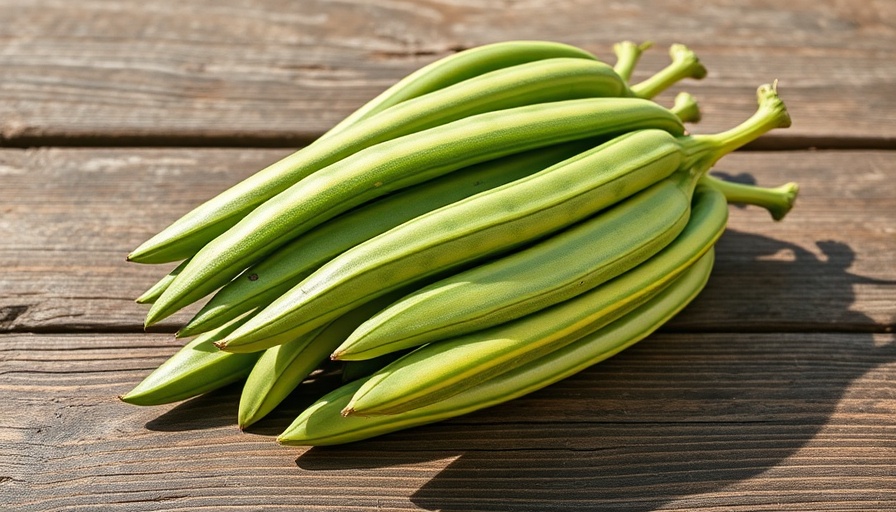
Unlock the Secret to Perfectly Ripened Eggplant: When to Harvest for Best Flavor

Update The Art of Timing: When to Harvest Eggplant Harvesting eggplant at the right moment is essential for enjoying the best flavor and texture. The difference between a delectable, silky eggplant and a tough, bitter one can often come down to just a few days. Understanding the signs that indicate when an eggplant is ready for harvest can transform your gardening experience and elevate your culinary adventures. Why Timing Matters in Eggplant Harvesting Eggplants are notorious for their wide range of textures and flavors, which can vary significantly based on the timing of the harvest. Harvesting too soon results in a firm and bitter fruit, while waiting too long can lead to a mushy fruit filled with large seeds. The goal is to pick the eggplant when its skin is shiny and smooth, the fruits are firm but not hard, and the color is vivid and rich. Furthermore, timely harvesting can encourage your eggplant plant to produce even more fruit, redirecting its energy from the harvested fruit to new blooms. This simple act not only provides a bountiful harvest but also nurtures the plant for a longer growing season. Signs of a Perfectly Ripe Eggplant Familiarizing yourself with the specific signs that indicate a ripe eggplant will aid in your harvesting process: Size and Shape: The eggplant should match the expected size and shape for its variety. This can range from the typical globe shape to the elongated Japanese variety. Color and Sheen: A ripe eggplant should exhibit a deep, rich color and a healthy sheen that indicates its fresh nature. Firmness: Press the eggplant gently; it should have a slight give but not be soft to the touch. Understanding Eggplant Varieties and Growth Different varieties of eggplants, such as Italian, globe, and Japanese, have unique growing characteristics and development timelines. On average, expect between 55 to 85 days from transplanting to harvesting. Warmer climates may offer an even shorter growth cycle, allowing earlier harvesting opportunities. Remember to take into account your local climate conditions, soil quality, and sunlight exposure when planning your eggplant cultivation, as all these factors contribute to the flavor and texture of your harvest. Storing Your Harvested Eggplant Once you've harvested your eggplant, proper storage is crucial to maintain its quality. Store your eggplants in a cool, dark place and avoid placing them in the refrigerator, as this can lead to chilling injury. Instead, keep them at room temperature, where they can retain their firmness and flavor for several days. Use them in your favorite recipes soon after harvest for the best results. Takeaway: Enjoying the Fruits of Your Labor The delightful taste and texture of homegrown eggplants are well worth the effort. By understanding the signs of ripeness and practicing proper harvesting and storage techniques, you can ensure that each eggplant you pick is a culinary delight. Embrace the growing process, and be proud of the gourmet flavors you can bring from garden to table. Now that you know how to harvest eggplant at the perfect time for flavor and texture, why not share your gardening journey with friends and family? Encourage them to join you in the joy of home gardening!

07.19.2025

Unlock Autumn Bounty: The Best Vegetables to Plant in August

Update Why August is Crucial for Your Fall Garden As the blazing summer sun begins to wane and days grow shorter, your garden holds untapped potential for a bountiful autumn harvest. Homeowners looking to maximize their garden's output can seize this optimal planting window available in August. This month serves as a bridge between the summer crops you've enjoyed and the fall vegetables that can sustain you as colder weather approaches. Preparation: A Key Ingredient for Success Before diving into specific crop choices, it is essential to prepare your garden space adequately. Begin with soil amending. As you clear out spring-sown crops like peas and greens, replenish the soil with a layer of fresh compost. Combining this practice with strategic planning—such as starting seeds indoors under grow lights—will provide your plants with a healthy jumpstart. Lettuces, for example, benefit significantly from early indoor sowing due to their slow germination rates in warmer soil. Essential Vegetables to Plant in August As you plan your late-summer planting, consider these top picks for vegetables: Turnips: These nutrient-rich vegetables thrive in cooler fall temperatures, making them a perfect choice for late-summer sowing. Cilantro: Enjoyed in various cuisines, cilantro's rapid growth allows for a quick harvest. Radishes: These fast-growing roots can be sown and harvested within weeks, offering immediate gratification. Lettuce: With many varieties available, lettuces are excellent for cooler weather as they mature and flourish in mild temperatures. Spinach: Known for its health benefits, this leafy green can tolerate cooler conditions and adds nutritional value to your fall diet. Monitoring and Care for New Seeds As you begin sowing, remember that newly planted seeds require diligent care. August soil can be quite warm and dry, which impacts germination rates. Watering is crucial; applying a gentle mist on bare soil helps maintain moisture without washing away seeds. During cooler evenings, make a habit of checking your planting areas, especially when rain is scarce. This proactive approach ensures that your crops get established before colder temperatures set in. Microclimates: Your Secret Garden Advantage Understanding your garden's unique microclimates can improve your planting strategy dramatically. If your space enjoys warmth from nearby structures or fencing, make the most of it by choosing heat-loving crops in those spots. Moreover, certain regions may have differences in growth rates; noting these variances allows you to experiment with timing and pairing different plants, ultimately yielding a more robust and diverse harvest. Final Thoughts: Embracing the Unexpected in Gardening While planning yields numerous benefits, gardening is often unpredictable. Last-minute vacations or other commitments can affect your planting schedule, yet flexibility remains a gardener's greatest ally. Many times, sowing a bit later still leads to a reasonable harvest, depending on your localized climate and ongoing care. As you venture into fall gardening, remember that patience, consistency, and observance of nature's cues will ultimately determine your success. For keen gardeners and homeowners alike, August presents an opportunity to rejuvenate your green spaces and set the stage for a fruitful fall harvest. So gather those seeds and let the adventure of late summer planting begin!

07.15.2025

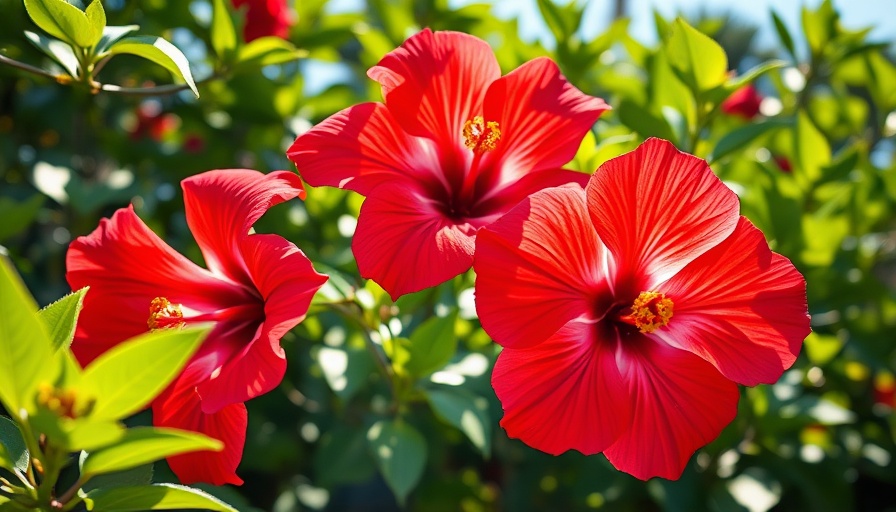
Unlock the Secrets of Growing Roselle Hibiscus for Delicious Tea

Update Why Roselle Hibiscus is a Must-Have for Your GardenRoselle hibiscus (Hibiscus sabdariffa) is not just another plant in your garden; it’s a vibrant addition that serves both aesthetic and culinary purposes. Commonly known as Jamaican hibiscus, red zinger, and even Florida cranberry, this plant shines with its attractive features and versatility. Originating from Africa, roselle hibiscus has found a loving home across the globe, celebrated for its beautiful dark red stems and distinctive flowers that can measure up to 3 inches in diameter. The most rewarding aspect, however, is the cup-shaped red calyxes that form after flowering, which can be harvested to create a refreshing, tart tea—perfect for both hot and cold preparations.The Unique Benefits of Cultivating Roselle HibiscusGrowing roselle hibiscus provides numerous benefits that go beyond its visual appeal. The flavorful calyxes are not only rich in antioxidants but also loaded with vitamin C, making them a healthy addition to your diet. When brewed, the tea boasts a delightful tart flavor reminiscent of cranberries, which many enthusiasts enjoy not just for its taste but also its health benefits. Additionally, the leaves of the plant can be consumed in salads or cooked, further enhancing its utility. This dual-purpose nature makes it an ideal choice for homeowners looking to maximize their gardening efforts.Getting Started: Planting Tips for Roselle HibiscusTo ensure a successful harvest, starting your roselle hibiscus seeds indoors is crucial. Ideally, sow the seeds 6 to 8 weeks before the last frost date in your area. Use a high-quality potting mix and plant the seeds half an inch deep, maintaining a warm environment (between 75 to 80 degrees F) for optimal germination. It's recommended to use a seedling heat mat to encourage sprouting, after which you can turn it off. Once the seedlings develop true leaves, fertilization becomes key—opting for a liquid organic fertilizer diluted to half strength will foster robust growth.Perfecting Timing: When to TransplantThe timing of when to transplant your seedlings outdoors cannot be overstated. Ensure soil temperatures have reached at least 50 degrees F and that all frost risks have passed before hardening off the seedlings. Temperature sensitivity is particularly important, and while regions in warmer climate zones can directly sow seeds in early spring, starting indoors is beneficial for everyone. Ensure your planting location offers adequate sunlight and well-drained, fertile soil, fortified with compost or organic fertilizer, for the best growth experience.Caring for Your Roselle Hibiscus: Best PracticesTo achieve the healthiest plants, it's important to provide consistent care. Regular watering is essential, especially during hotter periods of the summer, to prevent wilting. However, ensure that the soil is well-draining to avoid root rot. Space your plants adequately—18 to 24 inches apart—to allow for optimal growth. This also helps air circulation and lessens the likelihood of disease, a vital aspect to consider, especially in humid climates.Harvesting: The Art of Collecting CalyxesOnce your plants have matured, the exciting phase of harvesting the calyxes begins! This is usually done just after the flowers have fallen off; the calyxes should be a deep cranberry color for the best flavor. Be mindful not to delay the harvest, as overly mature calyxes can become tough. After harvesting, you can dry them for tea preparation or store them in an airtight container in the refrigerator for later use.Local vs. Global Perspectives: Growing Roselle HibiscusThe growing interest in roselle hibiscus transcends geographical boundaries, illustrating how gardening can foster connections within local and global communities. Many gardeners are sharing their tips and recipes online, creating an engaging community centered around this beloved plant. Growing it not only supports personal health and wellness but also elevates local biodiversity, enhancing garden ecosystems. Homeowners are increasingly recognizing how texts and resources available online can deepen their understanding and enjoyment of this captivating plant, enriching their gardening experience.In conclusion, incorporating roselle hibiscus into your garden is a wonderful choice for anyone looking to enhance their outdoor space with color and flavor. With the right care and attention, this low-maintenance plant can provide an abundance of beautiful blooms and delicious tea-making opportunities. Not only will you enjoy its aesthetic beauty, but your social and health-conscious sides will benefit, making it a truly rewarding gardening endeavor.

Terms of Service

Privacy Policy

Core Modal Title

Sorry, no results found

You Might Find These Articles Interesting

T
Please Check Your Email
We Will Be Following Up Shortly
*
*
*