 Add Row
  Add
Add 
Why Fixing a Leaky Two-Handle Shower Faucet Matters
A leaky shower faucet isn't merely a minor inconvenience; statistically, it can waste over 3,000 gallons of water annually, significantly affecting both your utility bills and the environment. Beyond financial savings, understanding and fixing your plumbing issues contributes to sustainability by conserving a precious resource—water. A focus on DIY repairs is not only economically wise but also empowers homeowners with practical skills.
Identifying the Source of the Leak
Before diving into repairs, it's essential to identify precisely where the leak is coming from. Begin with a thorough visual inspection around the handles and spout for any signs of water pooling or dampness. Take photographs to keep track of your observations. Performing a running water test by turning on each handle separately can further pinpoint whether the leak is stemming from the hot or cold water side.
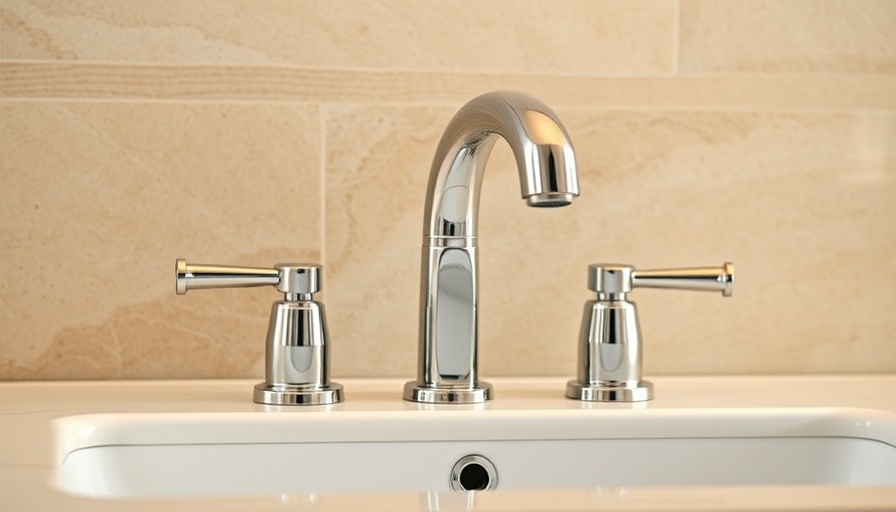
Understanding Your Faucet Type: A Foundation for Repair
Two-handle shower faucets are commonly categorized into three types: compression, ball, and cartridge faucets. Knowing the specific type you are working with is crucial for selecting the right replacement parts and ensuring a successful repair. Most faucets feature identifying brand labels or unique design characteristics that can assist in this determination.
Essential Tools and Materials for the Job
Equipping yourself with the right tools can make the repair process smoother. Basic essentials include:
- Screwdrivers: Both flathead and Phillips for various screws.
- Pliers: Ideal for gripping and turning components.
- Wrenches: An adjustable wrench is useful for different nuts and bolts.
Step-by-Step Repair Process for Compression Faucets
For those dealing with compression faucets, follow this straightforward guide:
- Turn Off Water Supply: Begin by completely cutting off the water supply to avoid unwanted flooding.
- Remove Handle: Unscrew the handle screw using a screwdriver and carefully detach the handle.
- Extract the Stem: Use a wrench to unscrew the packing nut. Then, pull out the stem.
- Replace O-rings: Remove any old O-rings and replace them with new ones, ensuring a snug fit.
- Reassemble: Put everything back together in reverse order and check for tightness in all connections.
Troubleshooting Common Issues
During your repair, you might encounter stripped screws or broken parts. A simple trick for gaining traction on a stripped screw is to use a rubber band. If parts are beyond repair, consult your local hardware store for appropriate replacements.
Ensuring Success: Testing the Repair
After you've reassembled your faucet, restore the water supply and watch closely for any leaks when running the water. Checking for leaks after a repair ensures that all parts are securely fitted and functioning as intended.
Next Steps: Why DIY Matters
Fixing a shower faucet independently not only saves you money on plumbing costs but enhances your home repair skills, fostering self-sufficiency. Additionally, by reducing excessive water waste, you contribute to more sustainable water usage—a choice that benefits both your household and the environment.
Looking Ahead: Empowering Homeowners Through Knowledge
Every DIY repair completed is a step towards becoming a more knowledgeable homeowner. Keep exploring plumbing tips and enhancing your repair skills to tackle future home maintenance tasks with confidence.


 Add Row
  Add
Add 
Write A Comment