Add Row
Add Element
HOME SERVICE HUB
Add Element
  • Home
  • Categories
    • Smart Home Solutions
    • Gardening
    • Landscaping
    • Home Exterior
    • Outdoor Living
    • Smart Homes
    • Lawncare
    • Lighting Solutions
    • Plumbing Tips
Add Row
Add Element
January 07.2025
2 Minutes Read

Revive Your Lawn: Here's How to Cure Salt Damage with Simple Steps

Yellow bucket with salt and sand for lawn repair, winter scene.

Revive Your Lawn: Here's How to Cure Salt Damage with Simple Steps

Understanding the Impact of Salt on Your Lawn

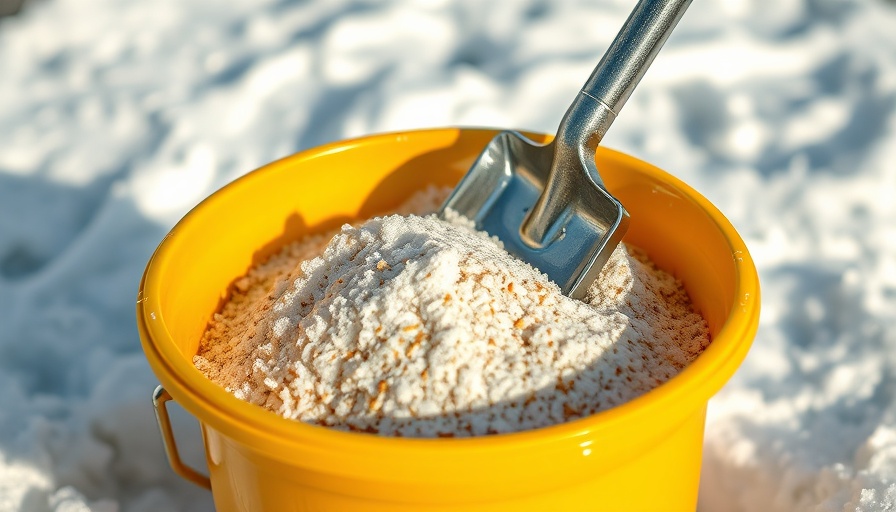
During winter, using ice melt solutions is essential for keeping pathways safe. However, these solutions often contain salt, which poses a significant threat to your grass. Accumulation of sodium or chloride in your lawn can cause "physiological drought," a condition where salt draws necessary moisture from your grass blades and roots, leading to dehydration. As a result, the grass may appear brown and wilt despite having adequate water in the soil. Besides dehydration, high salt levels create toxicity problems, affecting your lawn's ability to absorb water and nutrients and ultimately lowering the plant's defenses against diseases. Common signs include brown patches along hard surfaces like driveways and roads.

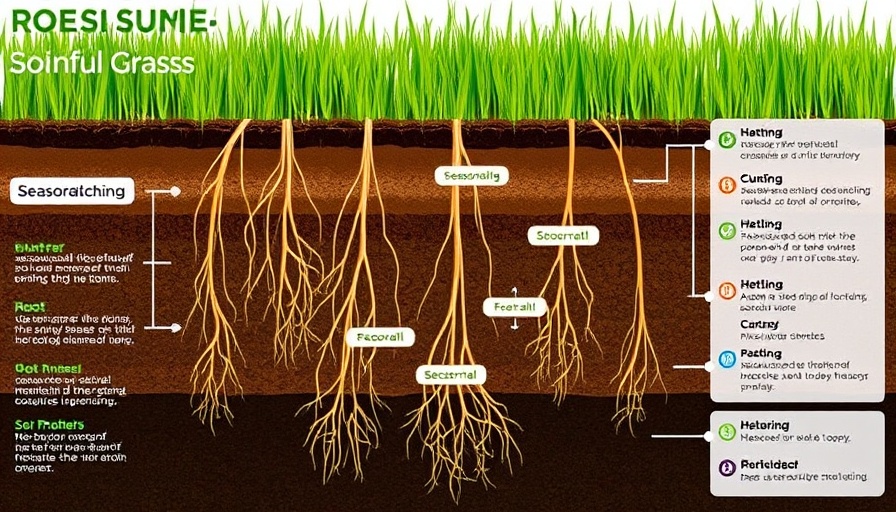
Six Essential Steps to Restore Salt-Damaged Grass

Repairing salt damage requires a systematic approach. Here's a step-by-step guide:

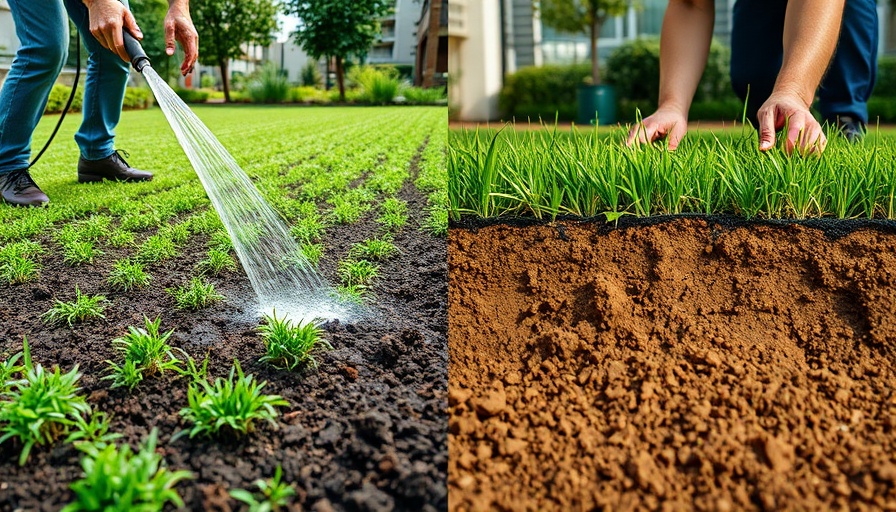
  • Leach Salts Out: Begin by thoroughly soaking the affected areas with a garden hose, replicating rainfall to wash salt below the root zone.
  • Use Gypsum: This mineral can help displace sodium ions from the soil, improving soil structure and root health.
  • Remove Damaged Grass: Carefully rake out dead grass to make room for new growth.
  • Topdress Bare Spots: Fill in bare areas with a nutrient-rich soil layer to promote healthy grass regrowth.
  • Overseed Areas: Once the soil is prepared, reseed the damaged spots to accelerate recovery and enhance turf density.
  • Monitor and Maintain: Regularly check the lawn's progress and adjust your care routines as necessary to ensure a full recovery.

Why Knowing This Can Save Your Lawn

Understanding and tackling salt damage effectively can drastically improve your lawn’s health. Knowing how to repair salt damage helps prevent long-term lawn issues and promotes lush, healthy grass. A healthy lawn not only enhances aesthetic appeal but also provides a vibrant outdoor space for activities, contributing to better property value.

Additional Tips for Lawn Care Enthusiasts

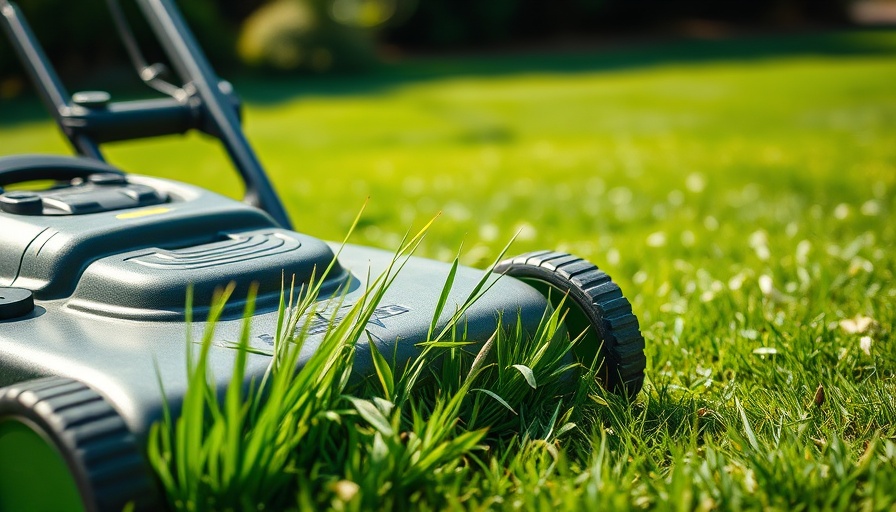
Lawn care doesn’t stop at salt damage repair. Regular maintenance, such as proper fertilization and watering, is essential. Consider seasonal aeration to improve soil structure, and always opt for weather-appropriate grass species. Rotating chores like mowing, edging, and trimming ensures well-balanced growth across all seasons, keeping your lawn robust and thriving year-round.

These insights not only help treat salt damage but enrich your overall approach to lawn care, ensuring you maintain a pristine landscape.

Lawncare

5 Views

0 Comments

Write A Comment

*
*
Related Posts All Posts
02.26.2025

The Ultimate Guide to Grass Clippings: Mulching vs. Side Discharge for Lawn Care

Update The Ultimate Guide to Grass Clippings: Mulching vs. Side Discharge When it comes to mowing your lawn, one question looms large: how should you manage those grass clippings? With two popular methods—mulching and side discharge—each promising certain benefits, how do you decide which one is best for your lawn care routine? In this article, we’ll explore the pros and cons of both mulching and side discharge while providing insights on how each method can affect your lawn’s health. Ultimately, the choice between mulching vs. side discharge hinges on personal preference, lawn conditions, and maintenance time. What is Mulching and Why Should You Do It? Mulching is the process of chopping grass clippings into small pieces, which then decompose quickly on your lawn, returning valuable nutrients to the soil. According to experts, mulched clippings can reduce fertilizer needs by up to one pound per 1,000 square feet annually. This practice not only feeds your lawn but can also enhance its overall health. Pros and Cons of Mulching Clippings Pros: Retains nutrients: Returning clippings to the lawn enhances nutrient cycling. Time-efficient: Cuts down on the time spent bagging and hauling clippings away. Aesthetic appeal: Smaller clippings blend in better with the grass. Cons: Not ideal for tall or wet grass, as it could lead to clumping. Requires more frequent cleaning of mower components. Mowing speed can be slower than side discharge. The Functionality of Side Discharge Side discharge allows grass clippings to be expelled from the side of the mower deck, leading to less clogging compared to mulching. However, this method has its own set of considerations. Grass clippings left in piles can suffocate the grass below, leading to potential lawn health issues. Pros and Cons of Side Discharge Pros: Faster mowing: Ideal for larger areas where rapid mowing is necessary. Less maintenance required on the mower. Cons: Risk of debris being flung, which could damage plants or people nearby. Piles of clippings can smother grass and may cause uneven lawn appearance. Comparing Mulching and Side Discharge: Which is Better? Experts argue about the merits of each method, but the choice ultimately depends on lawn conditions and personal preference. For homeowners aiming to conserve nutrients and enrich the soil, mulching stands out as the preferable option. Conversely, side discharge might be more suited for those aiming for efficiency in larger, manicured areas. Addressing Common Misconceptions One prevalent myth is that leaving grass clippings contributes to thatch buildup. Research indicates that mulched grass decomposes quickly, reducing this risk significantly. In fact, properly managed clippings can support a healthier lawn by enhancing soil moisture retention and nutrient availability. Best Practices for Grass Clipping Management To optimize the benefits of both methods, consider implementing a few simple guidelines: Use a sharp mower blade to ensure a clean cut and even distribution. Avoid mowing when grass is wet to prevent clumping, regardless of the method. Adjust your mowing height periodically based on grass growth to avoid excessive clippings in one cycle. Conclusion: Making an Informed Decision Ultimately, the best method for handling grass clippings revolves around understanding your lawn's specific needs and your mowing habits. Whether you prefer the nutrient recycling advantages of mulching or the rapid efficiency of side discharge, each strategy carries its benefits and trade-offs. Assess your lawn, make adjustments based on your observations, and remember that proper mowing techniques will always lead to a healthier yard. Now that you understand the implications of your choices regarding grass clippings, take the next step and refine your lawn care routine: Experiment with both methods in different areas of your lawn to see which yields the best results. Ensure your mower is properly adjusted for the method you choose. Stay informed about the latest lawn care tips and innovations to keep your yard looking its best!

02.21.2025

Understanding the Importance of Timing for Lawn Dethatching

Update Understanding the Importance of Timing for Lawn Dethatching Dethatching is a crucial aspect of lawn care, significantly impacting the health and growth of your grass. The buildup of thatch—a mixture of dead and living roots—can inhibit your lawn's ability to absorb essential nutrients, water, and sunlight. Timing your dethatching correctly involves a keen understanding of your grass type, seasonal changes, and individual lawn conditions. Why Timing Matters in Lawn Care Successful dethatching revolves around the lawn's growth phase. Dethatching during active growing periods minimizes damage and encourages rapid recovery. Typically, southern grasses, like Bermuda and Zoysia, thrive on dethatching in late spring through early summer, while northern grasses, such as Kentucky bluegrass, are best serviced in early spring or early fall. Both periods coincide with their growth cycles, allowing the grass to recuperate efficiently from this intensive procedure. All About Thatch: The Good and the Bad A thin thatch layer—less than half an inch—is beneficial, retaining moisture and insulating roots against extreme temperatures. However, once the thickness of thatch exceeds an inch, it transforms from a protective layer into a choking barrier for grass roots. Grass suffocates from lack of air, and growth can stagnate, making timely dethatching imperative to maintain a healthy lawn. Conditions for Optimal Dethatching Your lawn's moisture level plays a significant role in determining the best conditions for dethatching. Ideally, the soil should be moderately moist, not too wet or dry, to maximize the effectiveness of the dethatching process. This condition reduces stress on the grass and allows for easier removal of the thatch layer. A good practice is to wait a few days after a rain to ensure that the soil has dried to an optimal consistency. Tips for Preparing Your Lawn Proper preparation can lead to better results when dethatching your lawn. Mowing the grass to a shorter height—1.5 inches for cool-season grasses and 3/4 inch for warm-season grasses—can help provide better access to thatch. Additionally, clearing any debris and watering the lawn if needed can enhance the dethatching process. Taking these preliminary steps can significantly reduce potential damage and make the task easier. Choosing the Right Timing: A Seasonal Guide For cool-season lawns, the best time to dethatch is in early spring or early fall, just as the grass begins to grow after dormancy. Ensure that the grass shows signs of growth before proceeding with dethatching in fall to ensure it can recover before the frost sets in. On the other hand, warm-season lawns benefit from dethatching in late spring to early summer, right when the grass is actively growing and primed for recovery. Understanding Grass Recovery After Dethatching After dethatching, it’s important to allow a recovery window to ensure the health of your lawn. Grass may take three to four weeks to bounce back, depending on the weather conditions. Coordinating dethatching with other lawn treatments—like overseeding or fertilization—can also maximize your lawn's recovery, helping to create a luxurious and dense turf. Dethatching followed closely by aeration can provide the most benefit. Common Misconceptions About Dethatching Many homeowners assume dethatching is necessary every year, but this is not the case. It’s essential to check your lawn’s thatch layer carefully before proceeding. If the thatch layer measures less than half an inch (1.27 cm), further dethatching may be unnecessary. Grass varieties also vary in their need for dethatching; some grasses like ryegrass may only require this process every couple of years, while others like Bermuda may need more frequent attention. Evaluating Needs Post-Dethatching Finally, once you’ve dethatched, assess the lawn’s overall health shortly after. Post-dethatching, a great time to overseed is immediately after. Select quality grass seed to ensure long-term lawn health. Additionally, regular maintenance practices, including irrigation and fertilization, can help maintain optimal grass growth and prevent future thatch build-up. Understanding when to dethatch your lawn can transform your outdoor space. Scheduling dethatching correctly ensures a thriving lawn, ready to face whatever challenges the environment may present.

02.19.2025

Hydroseeding vs. Sod: Understanding Which Lawn Method Suits Your Needs

Update The Great Debate: Hydroseeding vs. Sod Choosing how to establish your lawn is one of the first steps in creating an outdoor space you can enjoy. Two popular methods—hydroseeding and sod—offer distinct advantages that cater to different needs. While sod provides an immediate lawn, hydroseeding can be a better option for larger areas due to its cost-effectiveness. This article dives into the intricacies of each method, helping you make an informed decision. Understanding Hydroseeding Hydroseeding is an innovative process where a nutrient-rich slurry made from seed, mulch, fertilizer, and water is sprayed onto prepared soil. This technique promotes rapid seed germination and is particularly effective for establishing new lawns or repairing existing ones. Hydroseeding requires thorough soil preparation followed by even spraying, which achieves an improved germination rate and abundant growth without the mess associated with traditional seeding methods. Exploring Sod Sod, which comes in rolls or squares with established roots, offers the immediate gratification of a lush green lawn upon installation. Homeowners choose sod for its convenience; however, the potential for seams and less uniformity can alter the lawn's appearance. Despite sod’s higher upfront costs, many view it as a hassle-free option due to the established roots that support a faster recovery post-installation. A Detailed Cost Comparison During your decision-making process, understanding the financial implications can help significantly. Hydroseeding tends to be significantly less costly than sod—often by 50-80%. While sod can cost three times more, the initial savings with hydroseeding can be offset by the potential need for re-seeding or additional maintenance. It’s important to factor in these long-term costs when making your selection. Appearance and Growth Rate: What to Expect When choosing between hydroseeding and sod, it's crucial to consider aesthetics and growth timelines. With hydroseeding, you can expect a lawn to mature in about four to six weeks, while sod provides immediate coverage. However, sod can sometimes exhibit visible seams that detract from visual appeal. At the same time, hydroseeding allows for a customized seed mix, tailored to local conditions to enhance health and longevity. Wrap-Up: Making Your Choice Ultimately, your choice between hydroseeding and sod will depend on your specific situation. If you are looking for an economical solution with potential customization for a large area, hydroseeding is the way to go. On the other hand, if you desire an instant lawn with less visible seams, opting for sod might be more appealing despite the cost. Get Expert Advice If you're stuck between the two options, consulting with a local landscaping professional can provide tailored recommendations based on your unique lawn space. This decision could greatly impact not just the look of your lawn, but its maintenance requirements and long-term health. Empowering Your Lawn Transformation Understanding the differences between hydroseeding and sod is essential in achieving the outdoor space of your dreams. As you weigh your options, consider factors such as cost, installation time, appearance, and long-term maintenance. Whatever choice you make, both methods can contribute to a thriving green space that enhances your home and lifestyle.

Add Row
Add Element
cropper
update
Home Service Hub
cropper
update

Homeowners seeking trusted advice and resources for maintaining and improving their properties

  • update
  • update
  • update
  • update
  • update
  • update
  • update
Add Element

COMPANY

  • Privacy Policy
  • Terms of Use
  • Advertise
  • Contact Us
  • Menu 5
  • Menu 6
Add Element

949-375-3833

AVAILABLE FROM 8AM - 5PM

Huntington Beach, CA

18685 Main Street 101-228
Huntington Beach, CA 92648

Add Element

ABOUT US

Home Service Hub is a subsidiary of High Octane Digital Group.

Add Element

© 2025 CompanyName All Rights Reserved. Address . Contact Us . Terms of Service . Privacy Policy

Terms of Service

Privacy Policy

Core Modal Title

Sorry, no results found

You Might Find These Articles Interesting

T
Please Check Your Email
We Will Be Following Up Shortly
*
*
*